

You can see it there above, all brightly lit up in that recent pre-feather-art project.
This is a picture heavy post, so I'm going to be brief with the words.
Here's the frame. $5 from an op shop. And it's big, too. Bargain!

It got sprayed along with all of the other office wall frames.

And I took away the backboard and drew some lines on that poor depressing piece of art.

And then Tom one-upped me and attacked it with the circular saw.

Leaving a big rectangular hole in the middle.

Allie took on her supervisory role, as usual...

Before getting distracted with an old bone she found in the backyard.

I took the board inside, and retrieved the rest of the orange chevron-pattern fabric that I used on my stationery pegboard.
I marked the fabric leaving a nice wide margin around the backboard...

And then I cut along my lines.
But I wasn't done with the scissors yet. I then cut a small rectangle in the centre, and little slits out from the corners.
I turned it over and folded my little flaps inwards, and masking taped them to the backboard.

And repeated the process with the rest of the flaps and outside edges as well, as if I were wrapping a present.
Leaving me with this!
Which turned into this, once I popped it back inside the frame.
Then we had to focus on this guy.

We looked at what options we had to buy a wall mounting bracket for the monitor, but at about $50 a pop, the next stage of the process wasn't going to be cheap. Until Tom decided that he could make a bracket himself. Enter this ugly-looking contraption.

Quite simply, it's a piece of aluminium that he cut to the same size as the square hole in the back of the monitor, and then attached little pieces of timber to the back of it to beef it up a bit (to the same depth as the hole in the back of the monitor.

He screwed it to the back of the monitor...

And checked that the screws we would attach to the wall would slot into the holes left in the back, like so...

Then measured the distance of those screw holes to the outside edges of the monitor.

And of course then used that measurement to determine exactly where the screw holes would need to be so that the monitor would fit where we wanted it to be.

We checked that the holes would be level first...

And then brought out the drill to create the necessary screw holes.
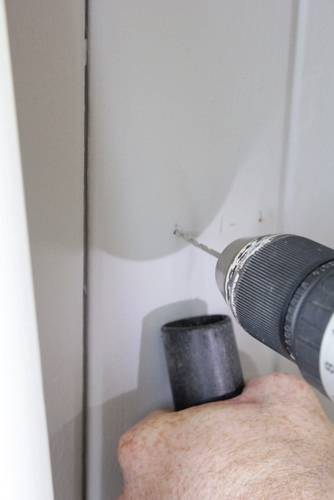
And then the moment of truth...

It fitted! So we popped the frame up, and voila! My computer monitor was immediately upgraded a few levels in the fancy stakes. I think it does wonders to make it a little less conspicuously ugly and office-ey.
What do you think? Fancy schmancy?
No comments:
Post a Comment