
After all the manly construction work involved in putting up the trim in the kitchen, I decided that I had to balance my week out with a bit of girly art creation.
So I went and had a look at my still very unfinished office frame wall.

More specifically, I decided to pay attention to the gold frame that's been filled with black since we hung it.

I found a nice piece of orange paper in my craft supplies, and decided that it would become the background to my art, to replace all that black.

I traced the outline of the frame backing, and cut it to size...

And then came the issue of what I was going to put in front of my orange background. The answer? Feathers.
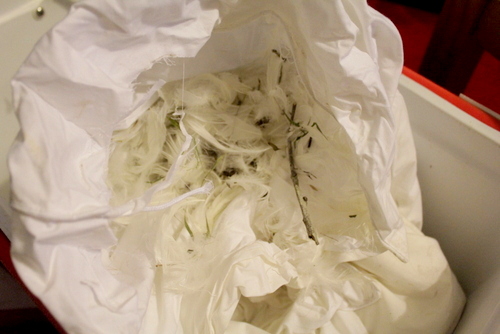
That not-very-attractive shot above is what is left of one of the pillows that Tom and I destroyed during our 'Trash The Wedding Dress' photo shoot. Here's why!

In trying to clean up after ourselves a bit when we'd finished pillow-fighting, we gathered up as many of the feathers that we could off the ground, which unfortunately involved gathering up a lot of leaves and twigs as well. So, I sifted out through the ugly bits, leaving me with this container of nice clean feathers.

Then I pulled out the Craft & Hobby PVA Glue...

Squirted a nice big blob on a plastic takeaway container lid, and dipped the ends of each feather into the glue.

I was trying to channel this Juju hat inspiration...

And got so caught up in the gluing process that I forgot to take in-progress photos. This is what I had about halfway through.

When I deemed it sufficiently feathered, I popped it in the frame...

And hung it on the wall, waiting until the next morning to take a much less yellow-tinged shot of it. But I wasn't really happy with it. Not only was the orange combined with the gold a little bit icky-looking (that's an official term, by the way), but I'd cut the orange paper slightly too small, so it was bulging out a bit at the top (you can just see that in this photo).

So, I changed the plan, and brought down the little white square frame next to it. I've been spending way too much time gazing at this particular family since it's taking too long to fill all of my frames, so replacing them with my orange/feather combination seemed like a good idea.

I held up the family against the back of my feather art and roughly traced the edges on the orange card, which was a bit difficult since I didn't want to put the art down and squash the feathers...

And then I cut around my tracings.

And popped the feathers into the frame in front of the glass, since obviously they wouldn't have fitted behind the glass. So much better!

Then up it went on the wall!

I'm very happy with it, and it's a lovely reminder of our fun photo shoot. It also brings out the little pop of orange in the art to the left of it, which I don't think I've actually ever introduced you to.

I originally stumbled across this image on Pinterest...

And decided to try my hand at drawing something similar with some coloured pencils.

It's not going to win any art awards, but I like it.

So there you have it. Very very slowly, I'm filling up that frame wall and evicting that stock photo family.
No comments:
Post a Comment