

It feels like so long ago that I first drew up the above plan for the kitchen layout. Since then we've moved most things into the room, and it now functions as a kitchen (except we still don't have any gas running to the stove, so the trusty electric frying pan is still getting a workout).
One thing we're missing is shelving. Because we have such enormously high ceilings, we decided to hang our upper cabinets higher than usual, to make a bit more use of the vertical space. You can see in this photo that the bottom of the cabinet at the top right lines up almost exactly with the top of the fridge, so that's about 1.7 metres above the floor, about 40 centimetres higher than usual.
The plan was then to build in a few shelves underneath the cabinets, in order to add a bit more storage at ordinary height for things that we can afford to have on display. So we attacked the wall with pencils and decided where the shelves would go!

I found some pre-made shelf brackets in pairs at Bunnings, and bought all that they had in stock.

Unfortunately that was nowhere near enough, so after returning from overseas we went on a Bunnings trek to buy more. At our second Bunnings store of the day a very helpful tool shop girl looked up the barcode on their system and discovered that not only had the range been discontinued (NOOOOOOOOOO!), but the only store that still had any was Harbour Town on the Gold Coast. We begged and pleaded with her to get some sent up for us, which she very thankfully did. So $100 worth of extra brackets later (we bought some extra pairs just in case), we were ready to go! Whew!
True to form, I drew up a plan.


I even measured how big each shelf would need to be.


Before we got much further with the under-cabinet shelves though, we found some pre-laminated inside-cabinet shelves at Bunnings and decided to add two shelves to the glass door cabinet (the one to the right of the fridge).

Just a bit more circular sawing (fortunately no injuries this time),
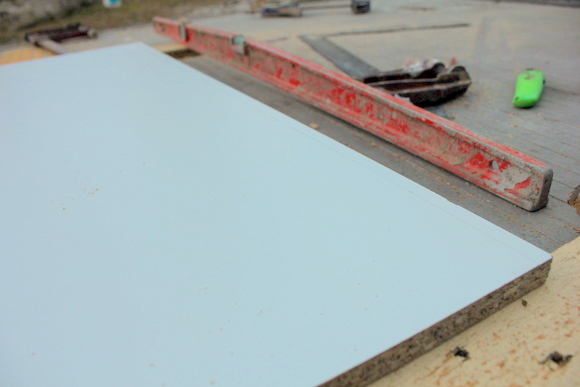
And measuring, and sawing again.

A few holes drilled to put in little shelf supports we already had on hand...
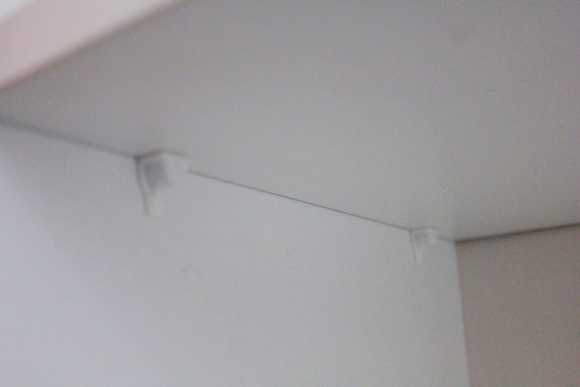
And a two-shelf cabinet turns into a four-shelf cabinet!

To store my growing teapot collection.

Anyway, back to the business of building other shelves!
Tom braved the circular saw yet again (no injuries again, yay), and then Daniel and I began the painting process.


Since we'd chosen to go with oil-based paint instead of our usual water-based, we made sure we had some mineral turpentine ("turps") on hand...

Our first coat of colour (which I named "bleugh") went on...

Our second, blackened, but unfortunately still "bleugh" colour went on...


And despite the fact that we don't really like the colour, we decided that we would put up the shelves for the sake of being able to organise the kitchen without any time pressure to choose a better colour imediately.


Unfortunately they left a bit of a skid mark on their way in... oops.

Tom enjoys any opportunity to get out his power drill.

We made one shelf a little deeper so we can store the microwave on it.

I wasted no time filling up the shelves.


Then we moved onto the other wall. Measure, measure again, measure one more time, drill hole, put in screw, attach bracket.

Times twelve.

And then the easy part, putting on the shelves.

I'm so excited. With no actual dedicated pantry in this house, it's been hard to store my jars of flours, sugar, spices, etc so they're still accessible. Now I have shelves, my problems are solved!

Well... maybe I might have a few more problems that need solving... can't let Tom get bored!
No comments:
Post a Comment