

No, it's not us getting the chop, it's our stairs!!!
To get our big beautiful new stairs to actually fit our house, they need a bit of attention from the circular saw.
Unfortunately the first chop occurred just before our 6:30pm noise curfew kicked in, so these first few photos are pretty dark.
The big 15-step set of stairs needed to become 11 steps.

So Tom pulled out his old friend (who almost tried to eat his thumb a few weeks ago), the circular saw.

We had surprisingly few qualms cutting up this gorgeous hunk of hardwood. We must be getting desensitized.

And then, it being a no-noise-making Sunday, we loaded the now shortened staircase onto the ute, to take it to Tom's brother's house where we could make some noise to our hearts' content.

Not before Allie and I had a bit of fun pretending we were climbing stairs to nowhere. Allie trotted right up to the top, with no fear.

And then I had to make a run for it and rescue her as she prepared herself to launch straight off the top! That dog has a death wish!

Once we were safely away from our noise-hating neighbours, we began the very careful process of cutting the stairs down to exactly the right size (or at least what we hoped was the right size).
That of course involves measuring...

And more measuring...

And the removal of the 12th step, which we plan to keep and use for the front of the landing.


Leaving the top of the big set of stairs looking like this.

We checked the mark Tom had drawn again, and realised we had a problem. We had drawn it at a 45 degree angle, but as it turns out, the diagonal of the stairs is not at a 45 degree angle!!! If we had cut along that line (which we were very close to doing), it would chop off the back of the top step!

So we sighed, and very carefully re-measured...

And as you can see here, we had drawn three different pencil lines before we were prepared to actually bring in the circular saw.

Whew! We cut along the right line!


Time to double check the line...

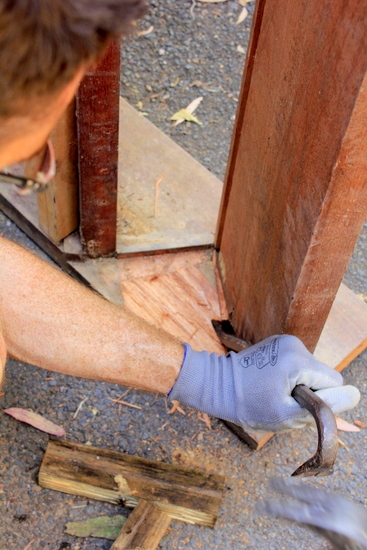
And then we had to saw off the two back corners of the front step, so it would slot nicely into our landing...

Leaving us with this at the top. Don't worry, it will all make sense once we put it all together!

We used the offcut from the first one to double check our line for the other side.

And the second cut was easy peasy!

Down the bottom edge of the stairs, the process started again. Measuring...

And double checking with the drawing I'd made of our landing... don't worry, it made sense to me.

More measuring...

And more sawing...

And more sawing...

And more sawing! I was trying to capture the flying sawdust.

And more measuring...

Are you getting the idea? This is a tedious and nerve-wracking process. Measure twice, cut one, as they say! Except we recommend measuring twice, standing back and looking at it, measuring another two times, and then considering cutting.
The bottom of the top section of the stairs (if that makes any sense?) looks like this now.

And our bin of offcuts looks like this!

Can't wait to see them actually installed, and fingers crossed that all of our measurements are right!!!
Wow! This is a BIG job, but it's going to be so worth it! What's this about no noise on Sundays? We'd get NO work done if that was a rule in our neck of the woods. Crazy talk!
ReplyDelete