1) It takes a LONG time.
2) No matter how many frames you've got, it's not enough. Get more.
3) It takes a REALLY LONG time.
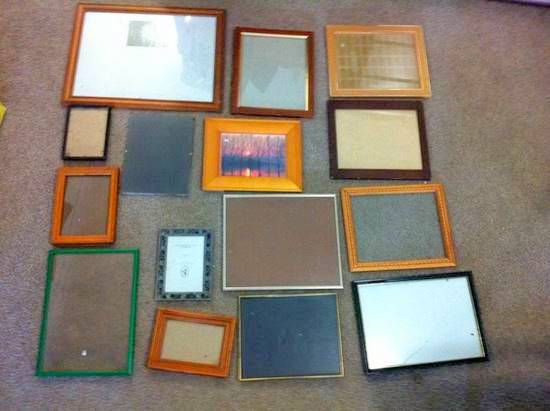
I managed to find the box in which I'd packed away most of our existing photo frames. I thought I was doing very well that I had quite a few that were already black. I knew I needed more though, so I paid a little visit to my local Salvation Army store and picked up a lovely pile of frames for about $20.
I gave them all a quick once-over with fairly fine sandpaper, and laid them carefully on bricks under the house.
I sprayed them with undercoat...
And then with black glossy spray paint. I didn't realise until afterward that it's probably not normal to have glossy black frames, so I worried that it they would look strange on the walls, particularly amongst all of the other frames we already owned that were a matte black. They turned out ok, though, and I actually think the difference in finishes adds to the texture of the walls as well.
While I was at it, I grabbed the wedding photo we'd had printed on canvas. When I ordered it I didn't realise that it would look a bit strange not having the photo extend onto the edges of the canvas as well. So I taped it up and gave it the spray treatment as well.
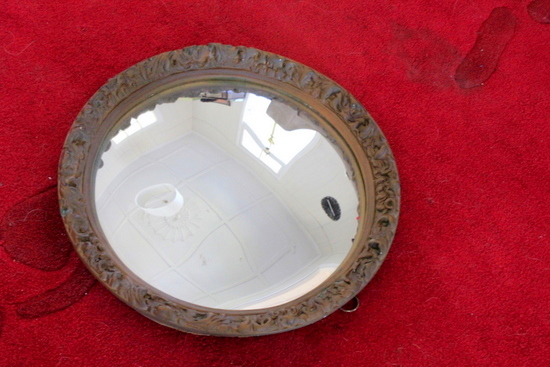
Then I moved on to this mirror. I mentioned it yesterday. I bought it on Ebay around the same time as I bought our new bathroom mirror, and was horribly disappointed when I found out that the glass is actually a convex shape.
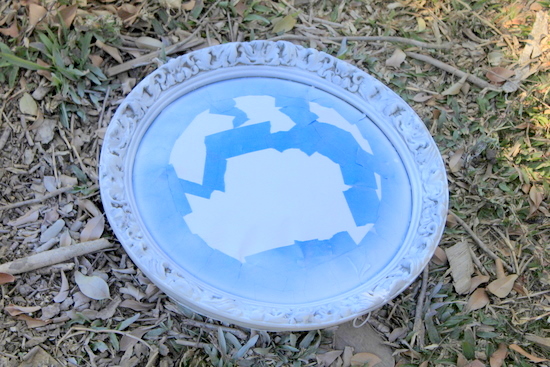
I decided to give it a chance though, and very carefully taped up the mirror.
I realised about here that I wasn't going to have enough frames. Very serendipitously, I found this lot for sale on Gumtree for $15. And I pounced!
They very quickly experienced the same treatment as the other frames.
Even just with the undercoat the mirror started looking much better.
And the coat of gloss black really made a difference!
Once all of the frames were dry, I traced the outline of each one onto newspaper...
And then it was finally time to start planning what should go where.
I attached a little slip of doubled-over painters tape to the back of each piece of newspaper, and started playing with placement, starting with the round mirror.
Then it was just a matter of alternating frame sizes and orientations, and fiddling until it looked right.
But I wasn't done yet! There was another wall to go! I quite like the fact that I've somehow managed to get a nice round shape onto both walls. On this one the clock, on the other one the mirror.
Soon, it was taking shape as well.
As I said, this is definitely time consuming. These walls actually stayed like this with newspaper all over them for at least a week. This wasn't because I was sensibly trying not to rush things, but because it's hard to pin down my husband long enough to attach the frames themselves! As it turned out, it was probably a very good thing that it took us a while to start making holes in the wall, because I kept shuffling things around until I was completely happy with them.
The mirror was the first to actually hit the wall. Please excuse Tom's indecency here. Much too much nipple and underarm hair in this photo!
We removed all of the things from the back of the frames that you use to rest them on tables (since we didn't want them sticking out from the wall too much), and a lot of them needed some help becoming fit for hanging. We bought a little packet of these things. I wish I knew their names!
And then both walls sat like this for weeks (although I only have a picture of this wall during this stage for some reason!). Can you spot the remaining newspaper?
I eventually decided to take things into my own hands, put up the remaining few frames myself. Wno needs a man?!
And so, after much jumping up and down off the couches and many many weeks, we finally had these finished (for now) products!
If I could offer a tip for creating your own frame wall, allow yourself a LOT of time, and definitely take your time between the newspaper and hole-drilling stages! It's all worth it in the end though!


OmiGOSH, what a LOT of work! I agree with you though...pre-planning as you did saves a lot of time...and eventually, grief (ha ha). Your galleries look fabulous!
ReplyDelete